# 为实体添加粒子
在本节中,我们通过一个气泡粒子示例演示如何为实体添加粒子。我们为我们的水鸭添加一个在水中的气泡粒子。事实上,我们的水鸭在水中移动时本来就会产生少许粒子,这是硬编码的行为。但是,我们依旧可以为水鸭添加更多的气泡粒子。
# 定义粒子短名称
我们欲采用原版的国际版粒子发射器minecraft:basic_bubble_particle_manual作为我们的气泡粒子,所以我们在实体定义文件中定义这个粒子的短名称,以供我们后续使用。
{
  "format_version": "1.10.0",
  "minecraft:client_entity": {
    "description": {
      "identifier": "tutorial_demo:teal",
      "materials": {
        "default": "chicken",
        "legs": "chicken_legs"
      },
      "textures": {
        "default": "textures/entity/teal"
      },
      "geometry": {
        "default": "geometry.teal"
      },
      "animations": {
        "move": "animation.teal.move",
        "look_at_target": "animation.common.look_at_target",
        "baby_transform": "animation.teal.baby_transform"
      },
      "scripts": {
        "animate": [
          {
            "move": "query.modified_move_speed"
          },
          "look_at_target",
          {
            "baby_transform": "query.is_baby"
          }
        ]
      },
      "particle_effects": {
        "bubble": "minecraft:basic_bubble_particle_manual"
      }, // 定义粒子短名称
      "render_controllers": ["controller.render.chicken"],
      "spawn_egg": {
        "base_color": "#62c287",
        "overlay_color": "#87692b"
      }
    }
  }
}
这个粒子发射器根据定义,只会在自身位于水中时持续发射气泡粒子,因此我们不必担心空气中会出现“气泡”。
# 挂接粒子至动画控制器
我们可以使用动画或动画控制器来挂接粒子,这里我们选用动画控制器。我们在资源包的animation_controllers文件夹内创建一个新文件,命名为teal.animation_controllers.json。然后,我们在其中输入如下内容。
{
  "format_version": "1.10.0",
  "animation_controllers": {
    "controller.animation.teal.particle": {
      "initial_state": "default",
      "states": {
        "default": {
          "particle_effects": [
            {
              "effect": "bubble",
              "locator": "lead"
            }
          ]
        }
      }
    }
  }
}
由于我们希望粒子持续播放,我们只定义一个状态,并定义一个particle_effects字段。其中effect为粒子效果的短名称,而locator是个可选字段,为粒子挂接的定位器(Locator)。

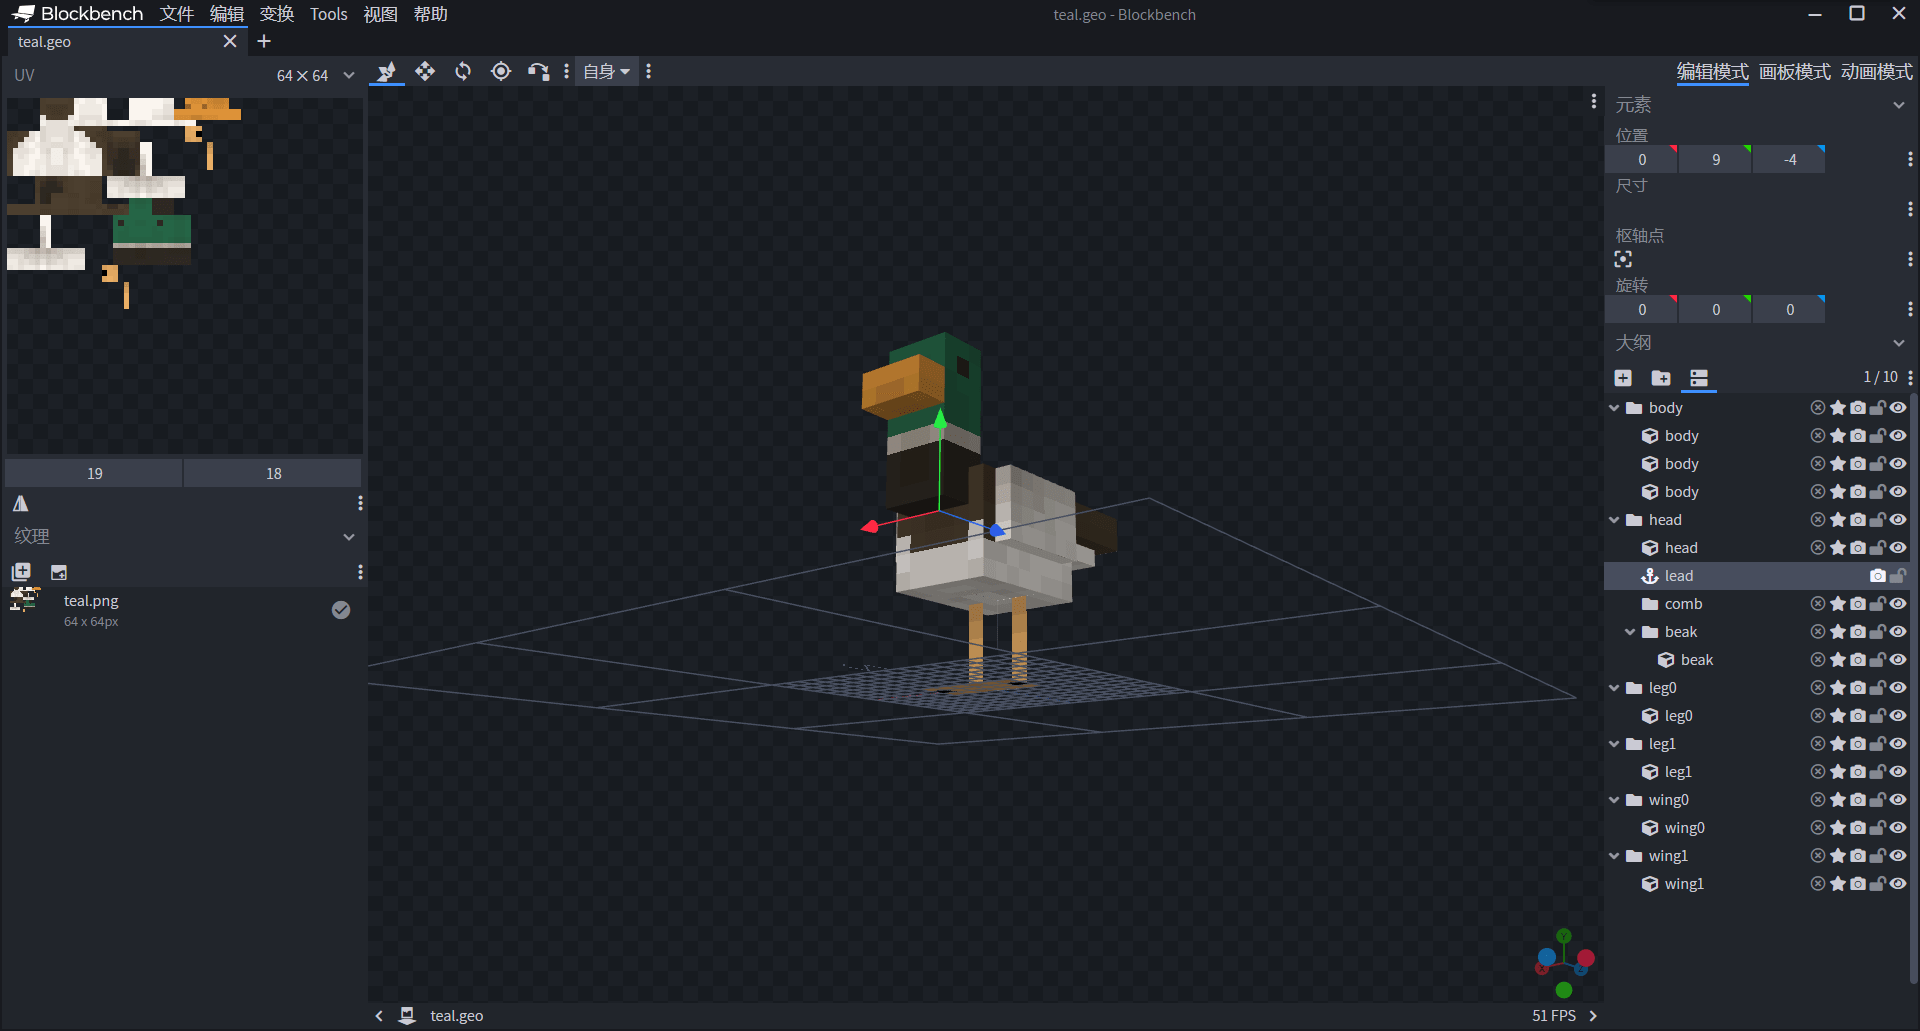
因为我们知道,我们的水鸭实体中存在一个用于挂接栓绳的定位器,为了演示方便,我们也将它用于自定义气泡粒子的定位器。也就是说,这个栓绳点一旦位于水中,水鸭将在水中产生大量气泡。

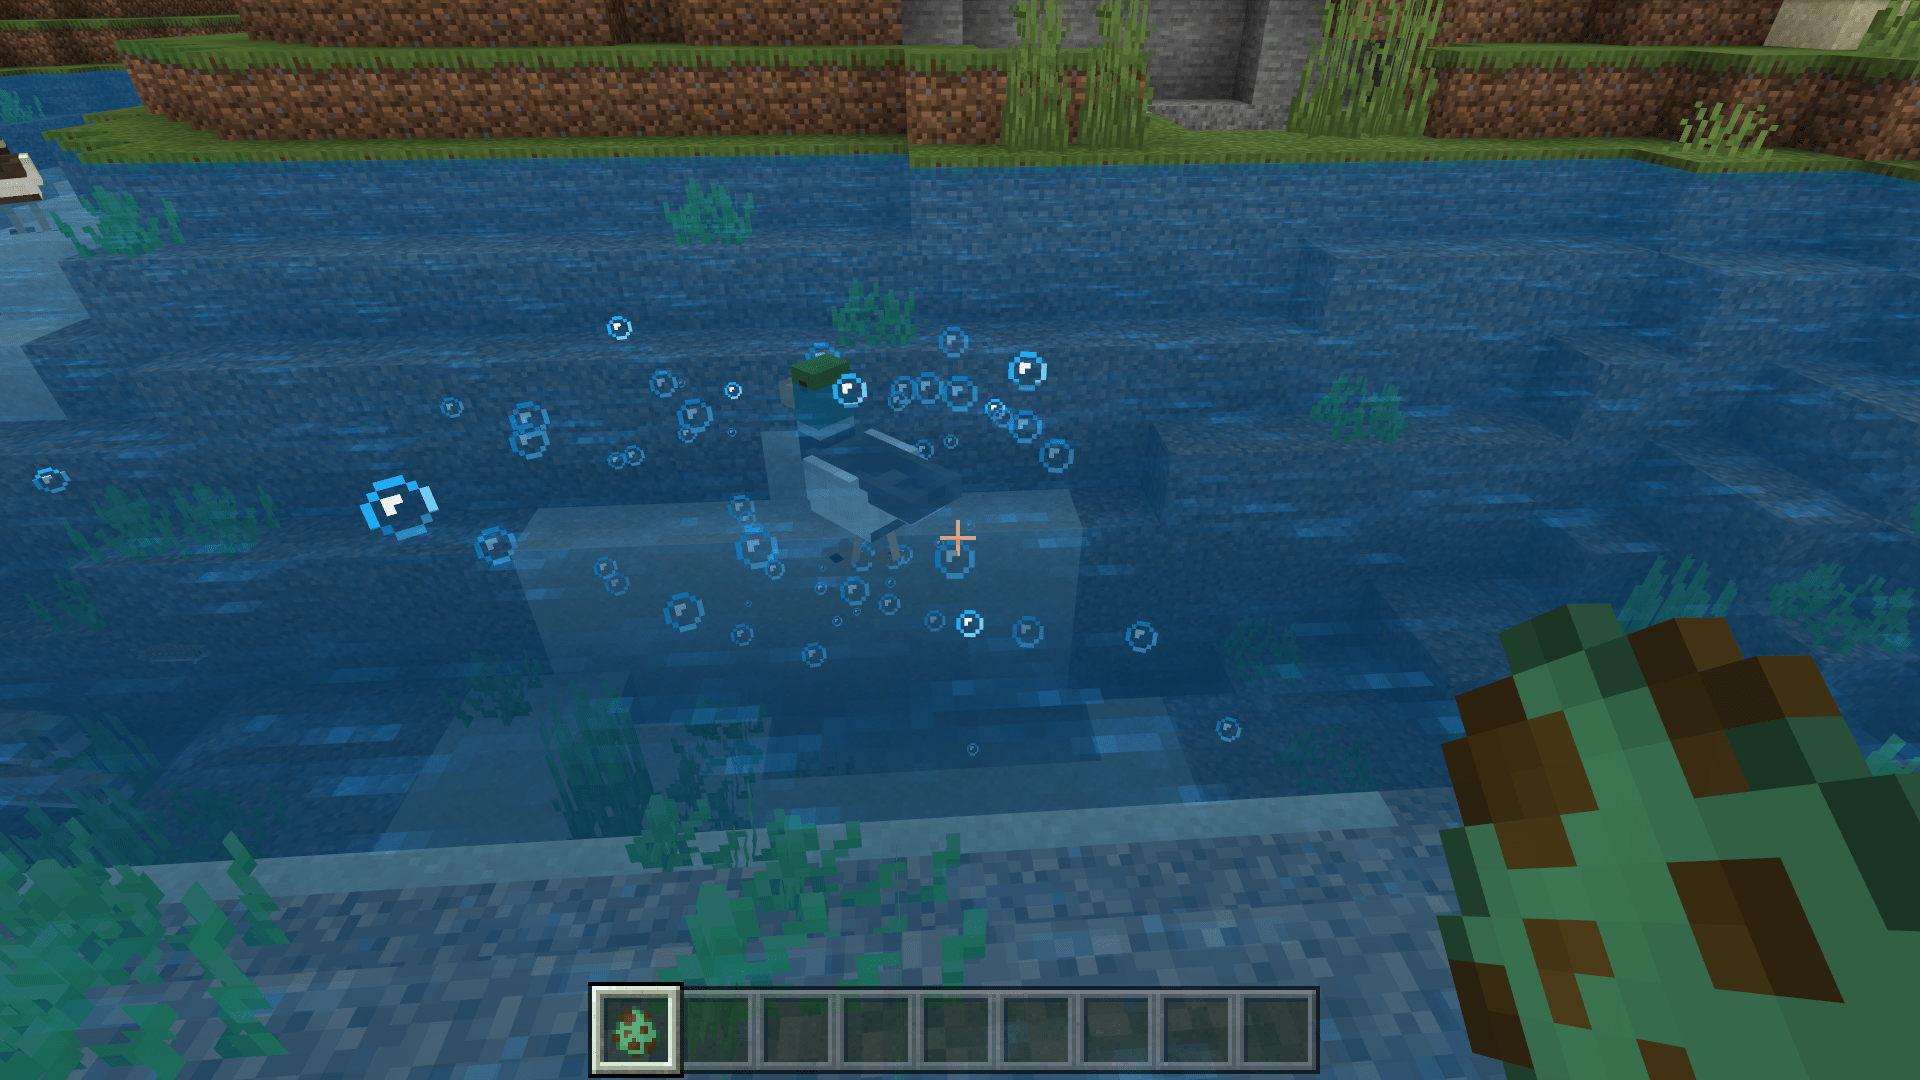
我们进入游戏自测,可以看到,果不其然,鸭子脖颈处的栓绳点在水下时便会发射出大量的气泡粒子!
← 让实体在水中悬浮 挑战:自定义水上坐骑 →
 网易大神
网易大神 扫码下载网易大神